Install Your Electric Floor Thermostat Yourself – Step by Step

Install Your Electric Floor Thermostat Yourself – Step by Step
An electric floor thermostat gives you precise control over your floor heating and can help you save energy when used correctly. Many homeowners assume that installation requires a professional electrician from start to finish, but in many cases, you can safely handle part of the work yourself—especially if you are simply replacing an existing thermostat. Here’s a step-by-step guide tailored for Indian homes on how to install your own electric floor thermostat safely and correctly.
Before You Begin – Safety First
Before starting, it’s important to understand the safety rules and local regulations. In India, electrical work that involves new wiring or direct connection to the mains should always be carried out by a licensed electrician. However, replacing an existing thermostat that’s already connected to a properly installed circuit can often be done by a careful homeowner.
Always remember:
- Turn off the power at the main circuit breaker before you begin.
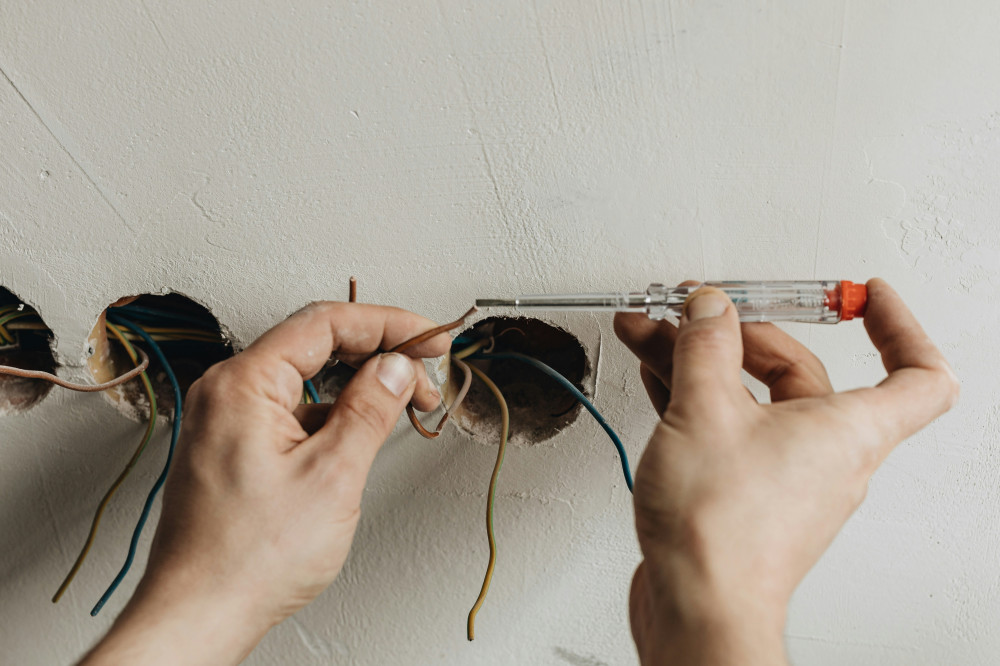
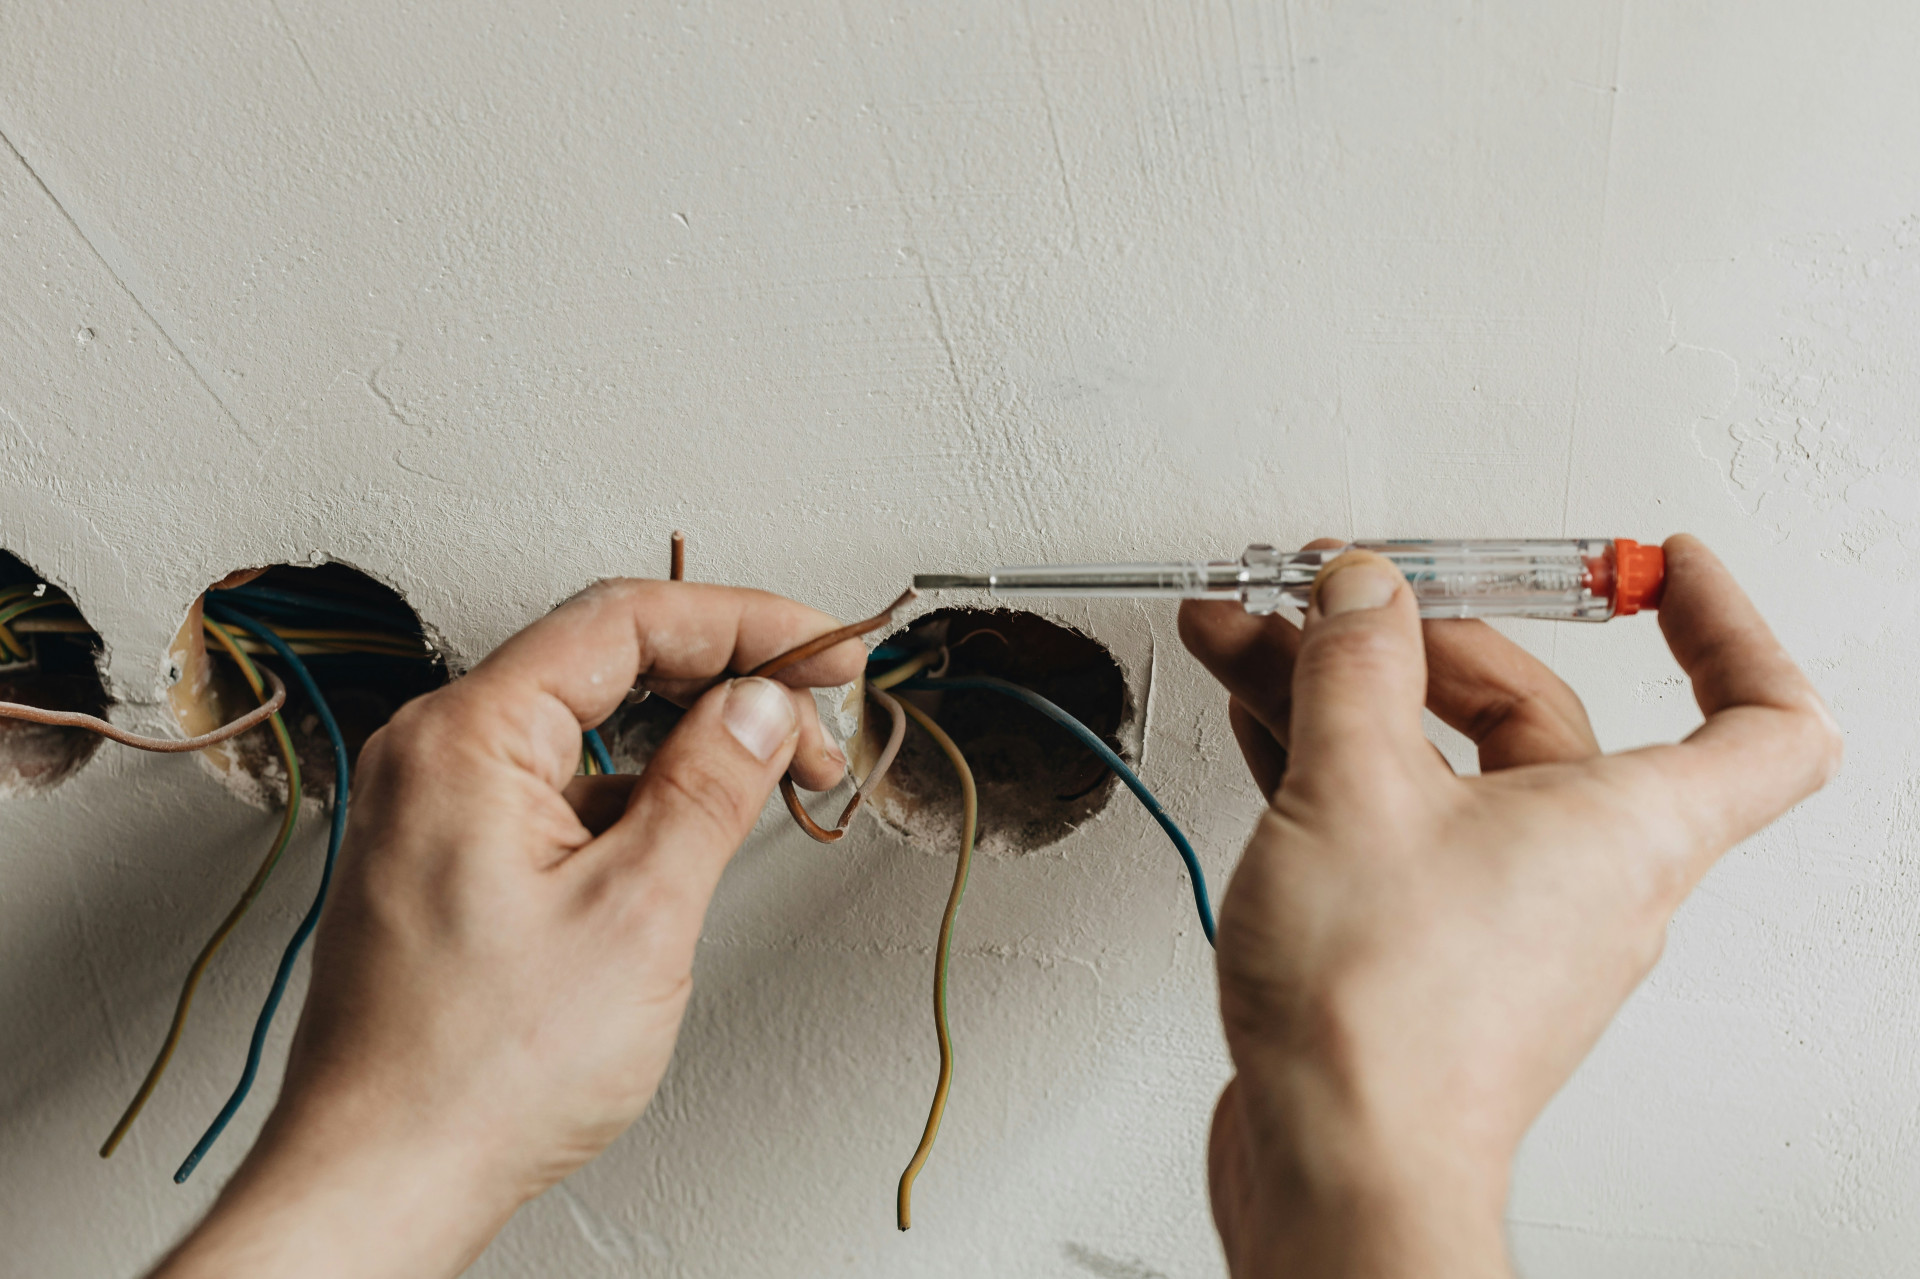
- Use a voltage tester to confirm that no current is flowing through the wires.
- Read the manufacturer’s manual carefully—different models may have slightly different wiring layouts.
If you are unsure about any step, it’s best to consult a qualified electrician.
Step 1: Remove the Old Thermostat
Start by removing the front cover of your old thermostat. Most models can be gently pried off with a small screwdriver. Unscrew the thermostat from the wall and pull it out carefully to expose the wires behind it.
Take a clear photo of the wiring connections before disconnecting anything. This will make it easier to connect the new thermostat correctly. Then, disconnect the wires one by one.
Læs også:


Step 2: Prepare the Wires
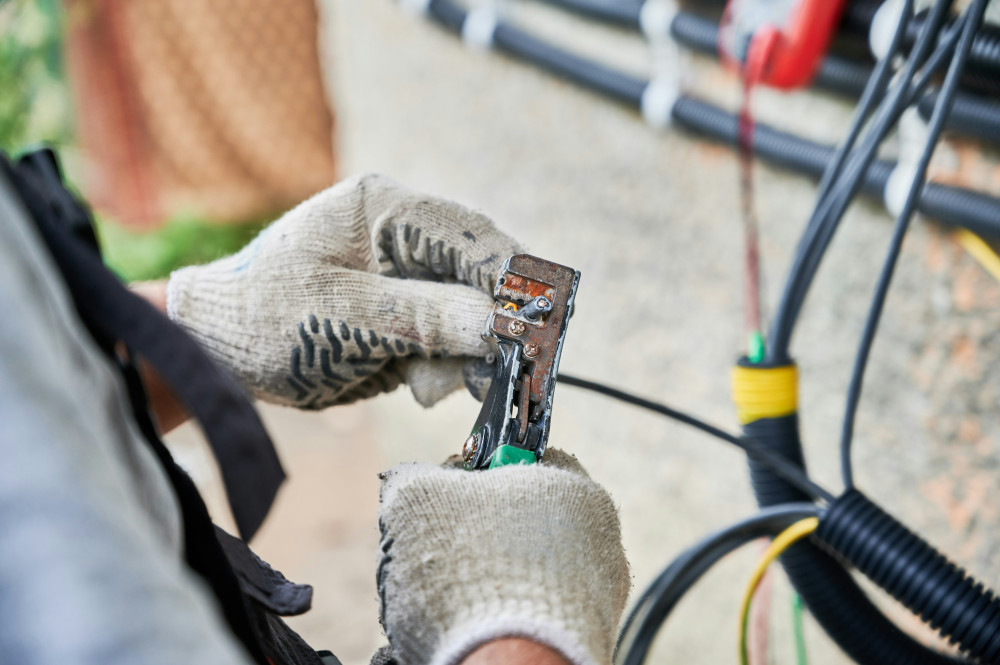
Once the old thermostat is removed, check that the wires are in good condition. If the copper ends are dark or damaged, trim them slightly and strip a small section of insulation to expose clean copper.
You’ll typically find three types of wires:
- Live (L) – usually brown or red.
- Neutral (N) – usually blue or black.
- Sensor wires – two thin wires from the floor temperature sensor.
If you’re unsure which wire is which, stop and get professional help before proceeding.
Step 3: Connect the New Thermostat
On the back of your new thermostat, you’ll find terminals marked with symbols such as L, N, and a sensor symbol. Connect the wires as follows:
- Live (L) wire to the L terminal.
- Neutral (N) wire to the N terminal.
- Sensor wires to the two terminals marked for the floor sensor.
Tighten the screws gently so the wires are secure but not damaged. Make sure no bare copper is exposed that could cause a short circuit.
Step 4: Mount the Thermostat on the Wall
Once the wiring is complete, carefully push the thermostat back into the wall box. Ensure it sits straight and secure it with screws. Then, attach the front cover or display panel.
If your model has a touchscreen or digital display, you may need to attach a frame or mounting plate before snapping on the front cover.
Step 5: Turn the Power Back On and Test
After everything is assembled, turn the power back on at the main switchboard. Switch on the thermostat and check that the display lights up and allows you to adjust the temperature. Within a few minutes, you should feel the floor begin to warm up.
If the thermostat doesn’t respond, turn off the power again and double-check your connections. Make sure the floor sensor is properly connected—without it, the thermostat cannot regulate the temperature.
Step 6: Set Temperature and Schedule
Most modern thermostats allow you to set both comfort and energy-saving temperatures, as well as daily or weekly schedules. This helps you reduce electricity use by lowering the temperature automatically when you’re away or asleep.
A good guideline for floor heating is:
- Comfort temperature: around 25–27 °C.
- Energy-saving temperature: around 18–20 °C.
Refer to your thermostat’s manual for programming instructions. Some advanced models can even be controlled via smartphone apps, allowing you to adjust the temperature remotely.
Step 7: Maintenance and Troubleshooting
An electric floor thermostat requires very little maintenance. However, if you notice irregular heating, check that the floor sensor is working properly. If the floor feels too hot or doesn’t heat at all, it could be due to a faulty sensor or incorrect settings.
Also, make sure the thermostat is not covered by furniture or curtains, as this can affect its temperature readings.
A Small Effort with Big Benefits
Installing an electric floor thermostat is a manageable project for most homeowners—especially when replacing an existing unit. The result is more precise temperature control, lower electricity bills, and a more comfortable home environment.
With a bit of patience and attention to safety, you can enjoy a warm, inviting floor and the satisfaction of having done the job yourself.
Læs også: