Paint Slanted Walls and Skylights Easily and Efficiently

Paint Slanted Walls and Skylights Easily and Efficiently
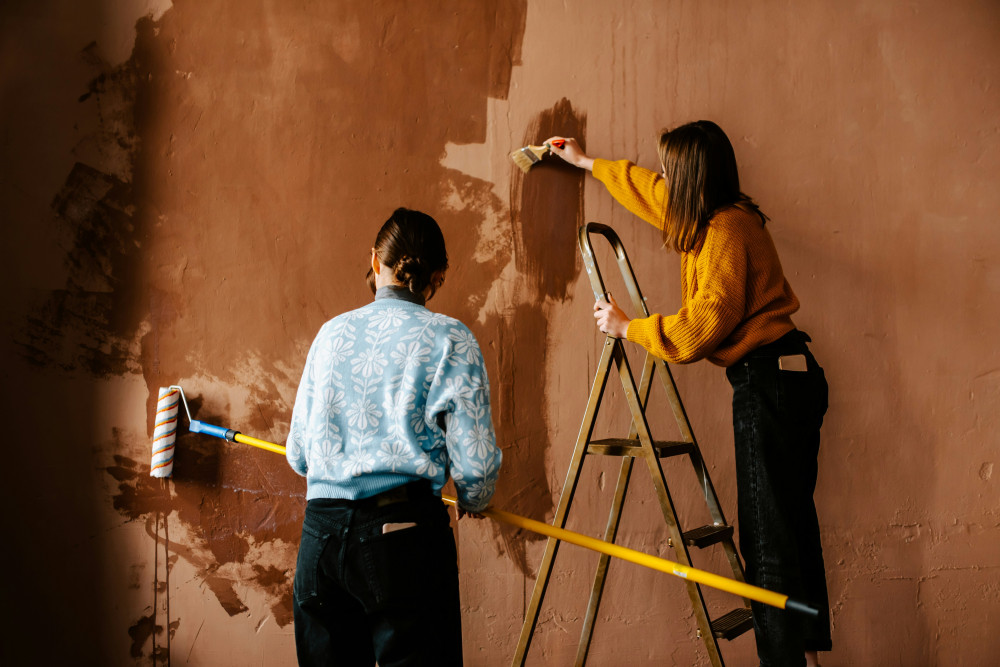
Painting a room with slanted walls and skylights can seem tricky, but with the right preparation and tools, you can achieve a smooth, professional finish. Sloped ceilings and skylight recesses simply require a bit of extra care—especially when it comes to light, angles, and reach. Here’s a step-by-step guide tailored for Indian homes, where natural light and temperature can vary widely across regions.
Preparation Is Key
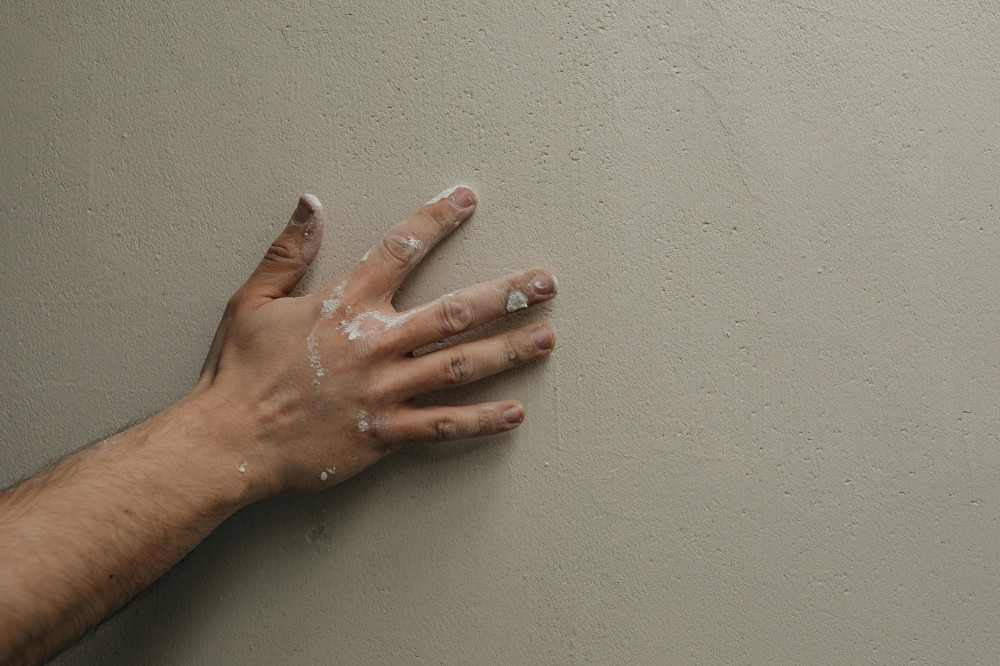
Before you open the paint can, prepare the space thoroughly. Slanted walls and skylight areas often collect dust and cobwebs, so start by vacuuming and wiping the surfaces with a damp cloth. Remove any nails, screws, or old fittings, and fill holes or cracks with wall putty.
Once the putty is dry, sand the area smooth with fine sandpaper. Wipe away the dust so it doesn’t mix with the paint. Cover the floor and window frames with plastic sheets or old newspapers, and use painter’s tape to protect edges and trims.
If you live in a humid area, such as along the coast, make sure the surface is completely dry before painting to prevent peeling later.
Læs også:

Choose the Right Paint and Tools
Slanted walls and ceilings receive more light than vertical walls, so choose a paint finish that suits the room’s purpose and lighting.
- A matte finish hides imperfections and gives a calm, elegant look.
- A satin or semi-gloss finish reflects more light and is easier to clean—ideal for kitchens or children’s rooms.
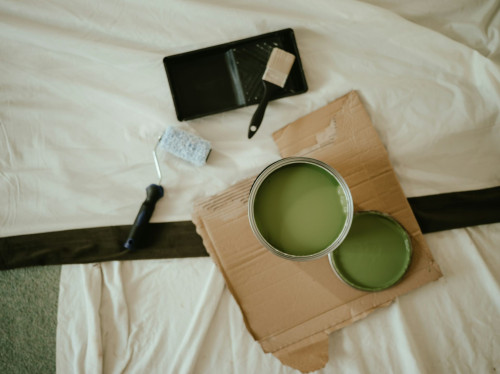
For the job, you’ll need:
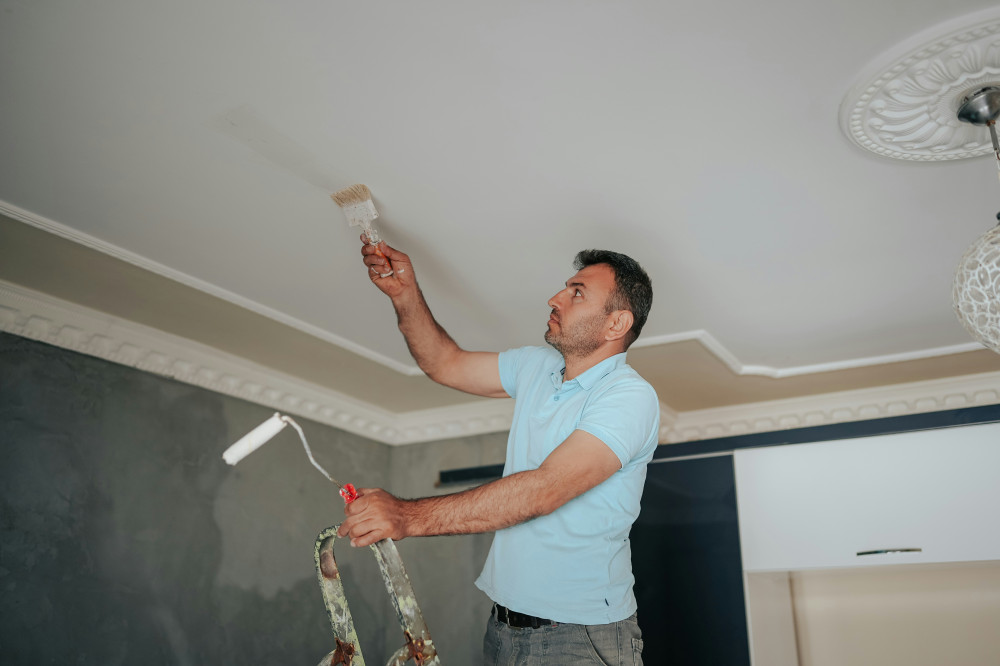
- An angled brush for corners and edges.
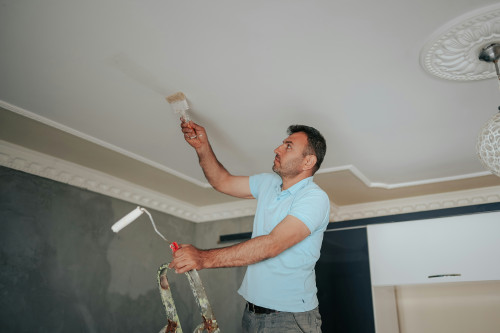
- A medium roller with an extension pole for slanted surfaces.
- A small roller for skylight recesses and narrow areas.
- A sturdy ladder or step platform for safe access to higher spots.
If you’re painting during summer, choose a quick-drying, low-odour, water-based paint to make the process more comfortable.
How to Paint Slanted Walls
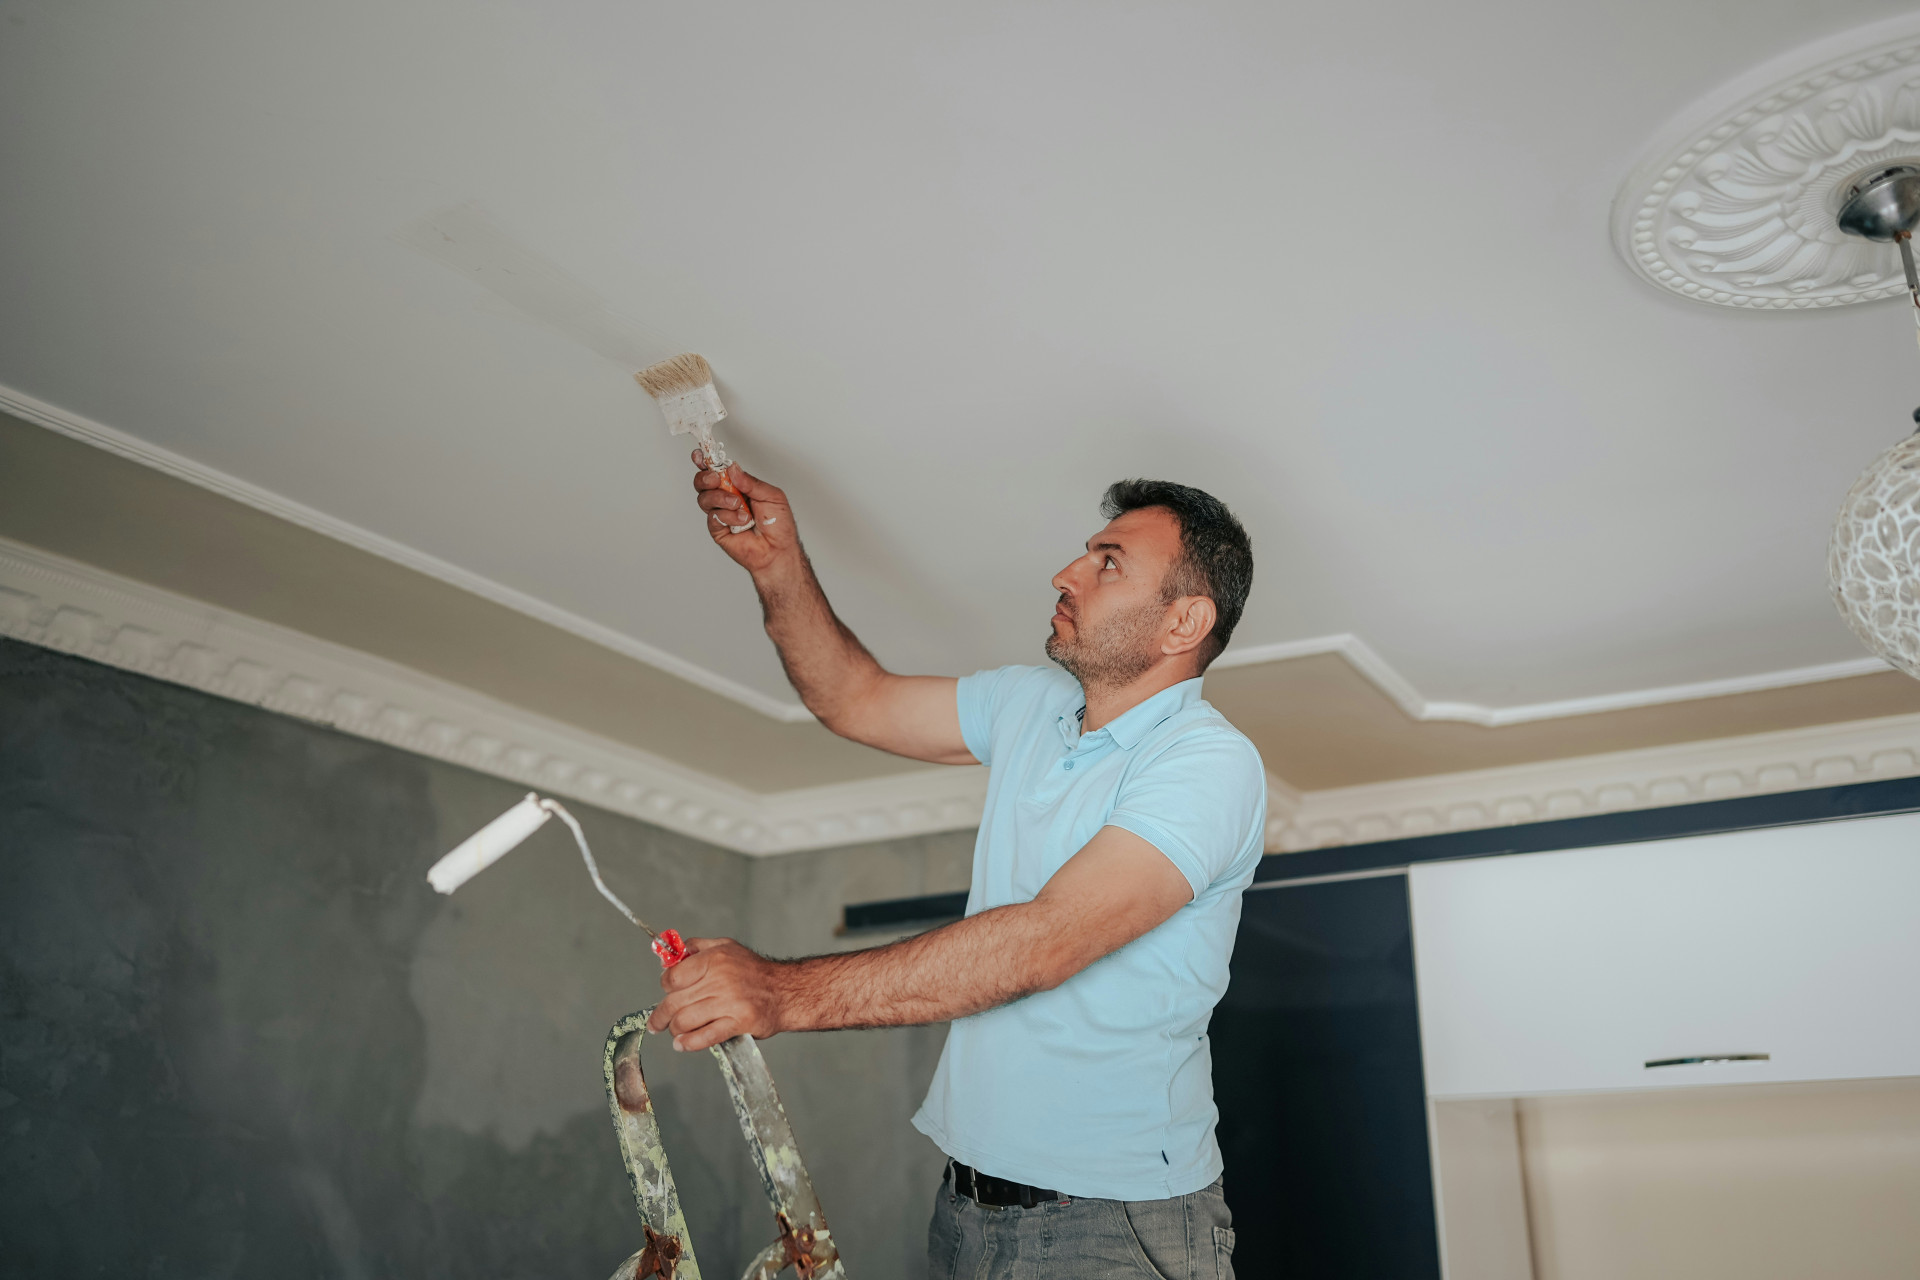
Start by painting the edges where the wall meets the ceiling or adjoining walls. Use the angled brush to create a 5–10 cm border so you can roll close to the edges later without overlapping.
Next, use the roller to paint in vertical or diagonal strokes, depending on the wall’s angle. Work in small sections and maintain a “wet edge” to avoid visible lines. For large surfaces, paint in one-metre-wide sections at a time.
Allow the first coat to dry as per the manufacturer’s instructions, then apply a second coat for an even, durable finish.
Skylights Require Precision
Skylights bring in beautiful natural light but also highlight every brushstroke. Paint these areas with smooth, even strokes and avoid overloading your brush or roller. Use painter’s tape to protect the skylight frame, and remove it while the paint is still slightly wet to get a clean edge.
If the skylight recess is deep, painting it the same colour as the ceiling can create a seamless look. To make the skylight stand out, choose a slightly darker shade than the surrounding walls.
Pro Tips for a Professional Finish
- Work in daylight so you can clearly see coverage and colour consistency.
- Avoid drafts while the paint dries to prevent uneven texture.
- Invest in quality tools—good brushes and rollers make a big difference.
- Check from multiple angles once you’re done; skylight light can reveal missed spots.
- Use eco-friendly paints with low VOCs, especially in bedrooms or children’s rooms, to ensure better indoor air quality.
Finishing Up and Cleaning
Once the paint is dry, carefully remove the painter’s tape and coverings. Clean brushes and rollers with water if you used water-based paint, and store them properly for future projects.
Step back and admire your work—the slanted walls and skylights now enhance the room’s character, making it brighter, fresher, and more inviting. With a bit of patience and the right approach, even the most challenging corners of your home can look effortlessly beautiful.
Læs også: